Written by COL Kelly McDermott
The Build Process
Stardate Entry: 100086.9

We decided to do a modified version of the transporter from Voyager. We are using a reference picture (left) to design our transporter. Oversize will be approximately 8 ft (w) x 4 ft (d) x 8 ft (h). Construction will be wood, epoxy and LED lighting.
It will be able to accommodate people (species) up to about 7 ft tall. (Right: the rear of the transporter.)

Stardate Entry: 100286.9
We have completed the basic Contruction of the rear panels and base of the transporter. We are now in the process of prepping them (sanding and painting with primer). All panels have been individually prepared and sanded and will be primed.
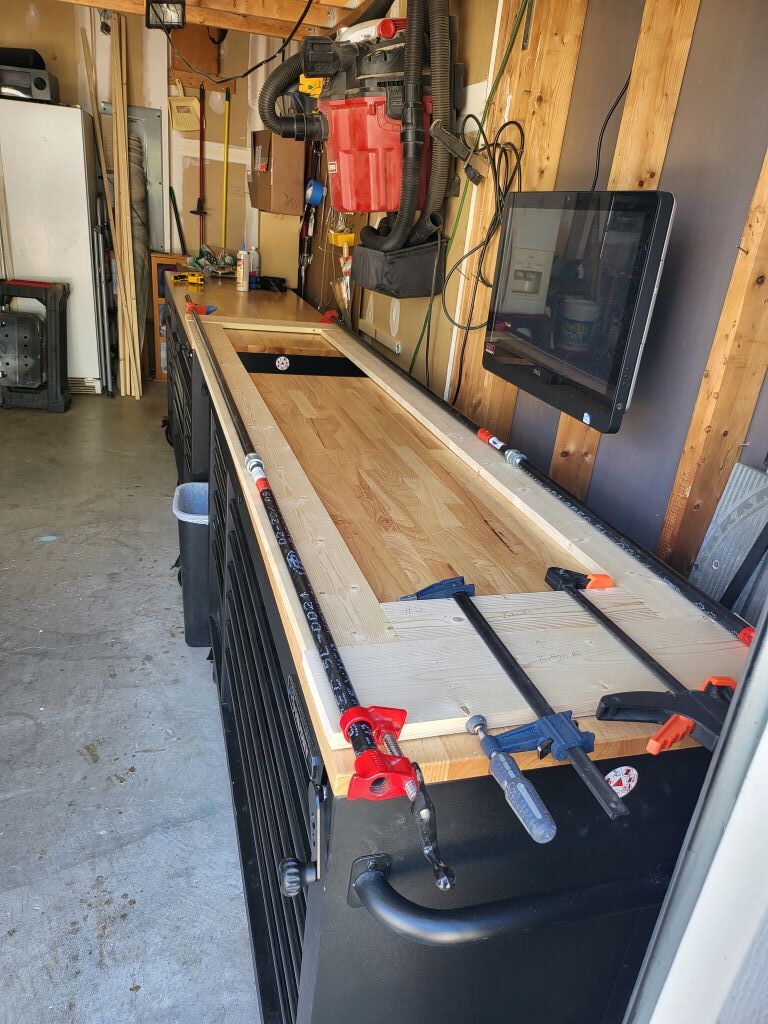
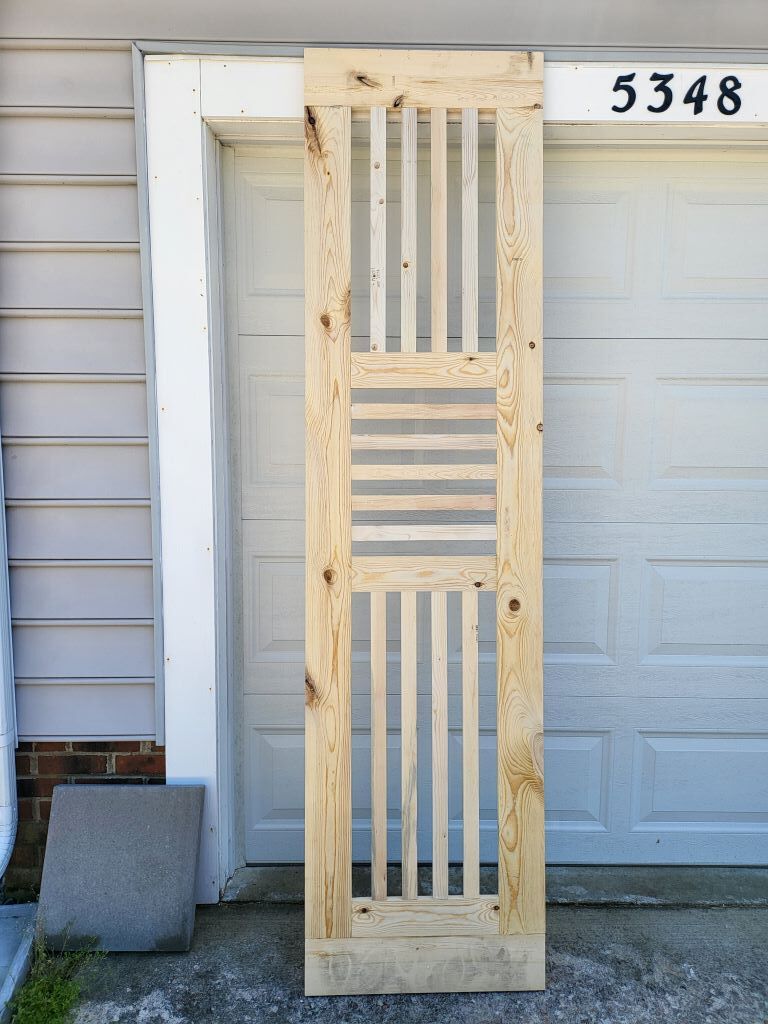
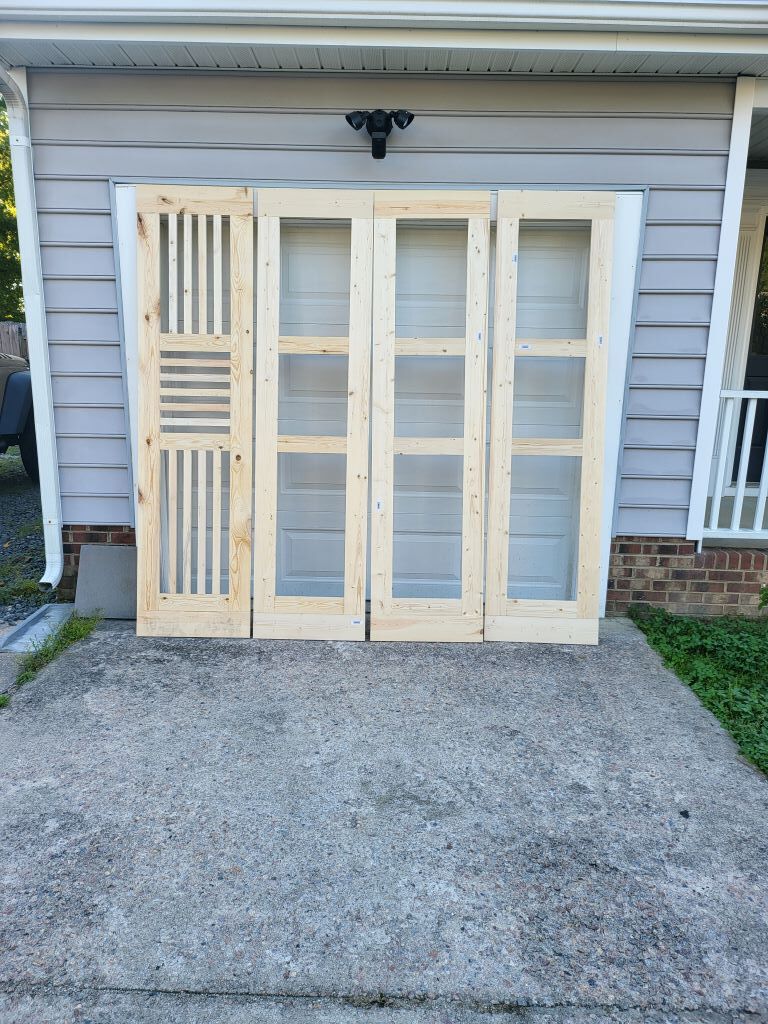
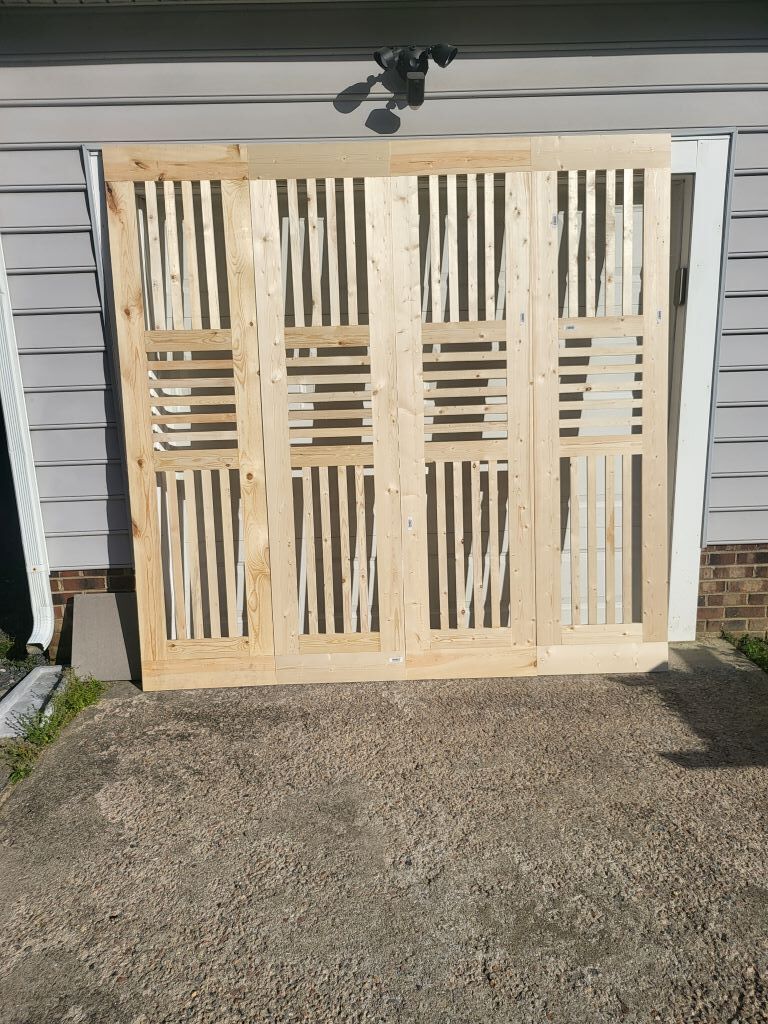
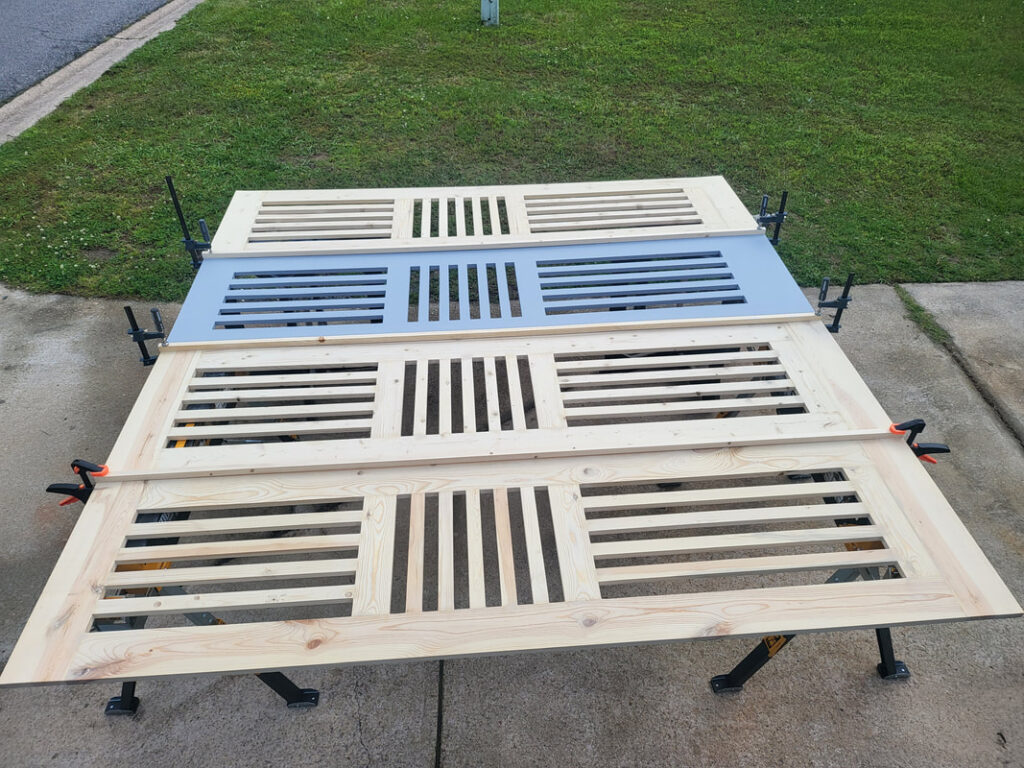
Stardate Entry: 100325.2
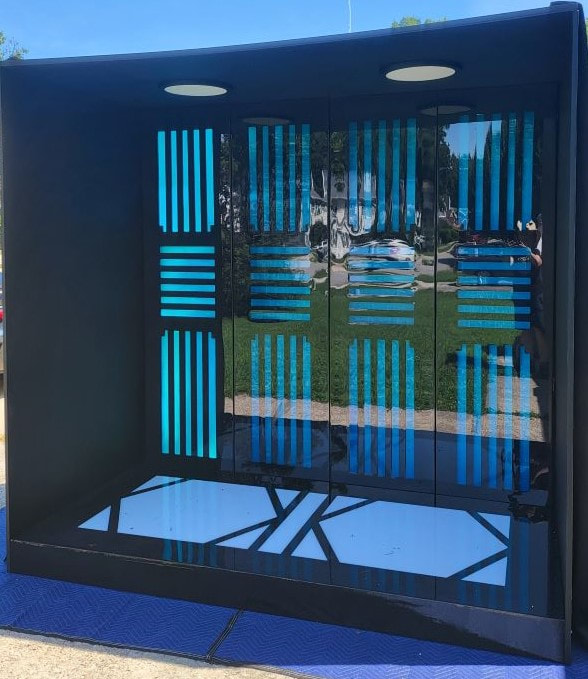
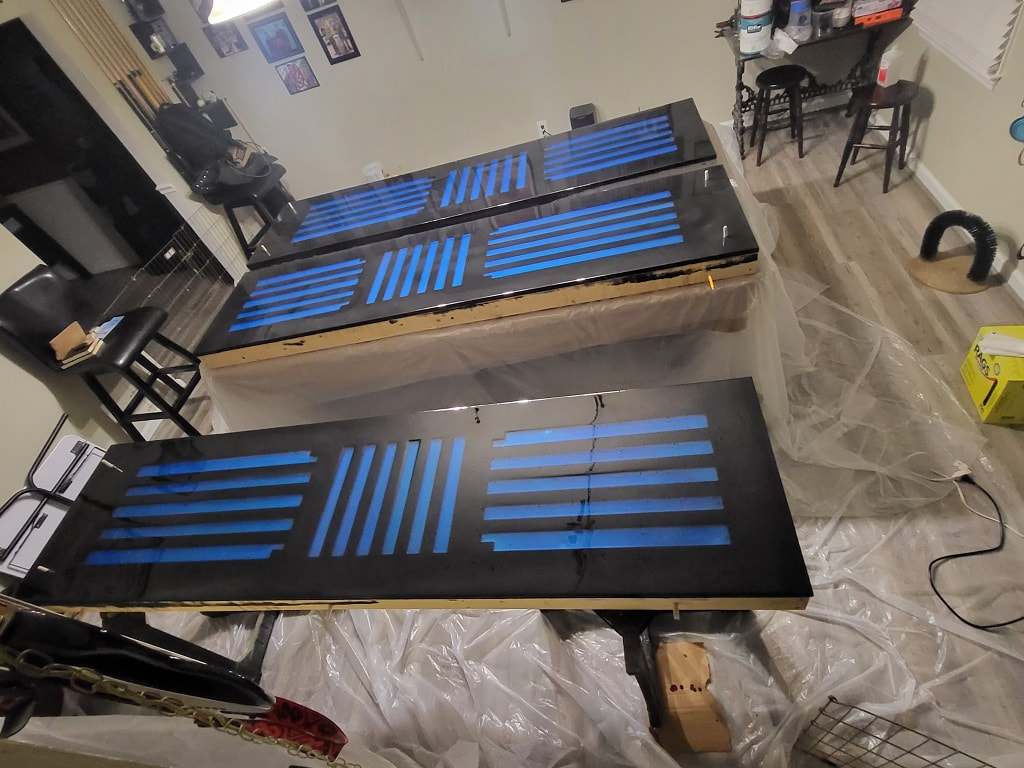
Each will then be painted a flat black after priming is finished. The opening will be filled with a translucent blue epoxy and will have LED lights behind them. After this has been completed each panel will receive a 1/8-inch clear bar top epoxy resin over them, giving them a glass-like look.
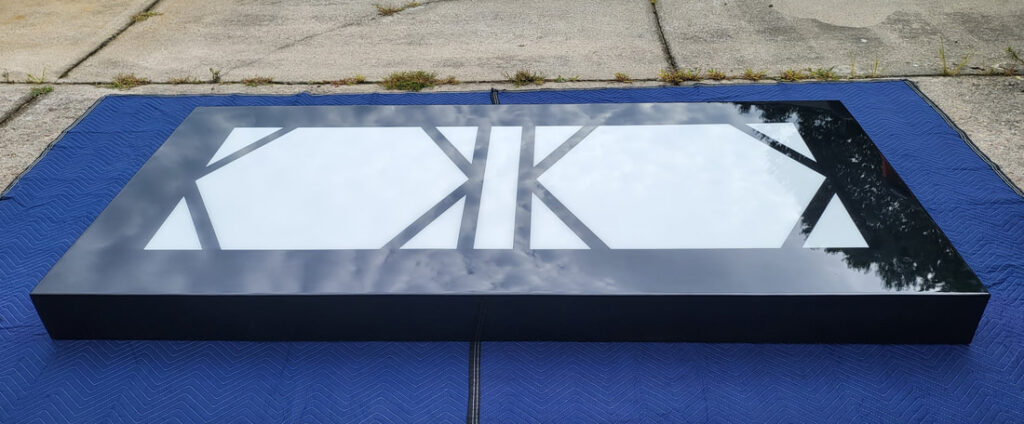
The initial base/floor has been built and will stand 6.25in tall. The floor has been reinforced so it will not have any issues with weight distribution. Two pads will be painted in pure white with the black and white designs on the outside. Once all sanding, priming and painting has been complete this base/floor will receive a 1/4-inch bar top epoxy (giving it a glass look) so that convention goes may stand in transporter without causing damage.
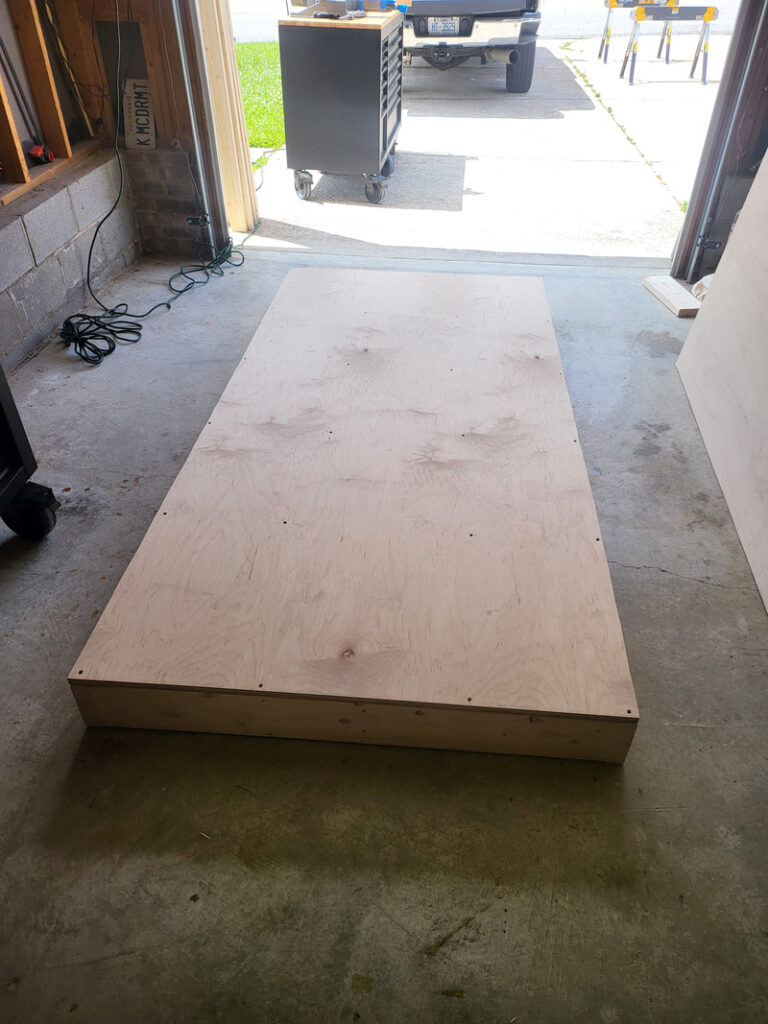
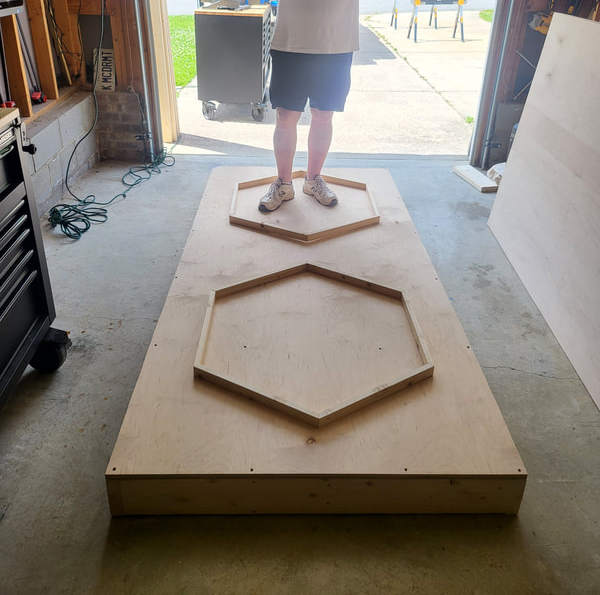
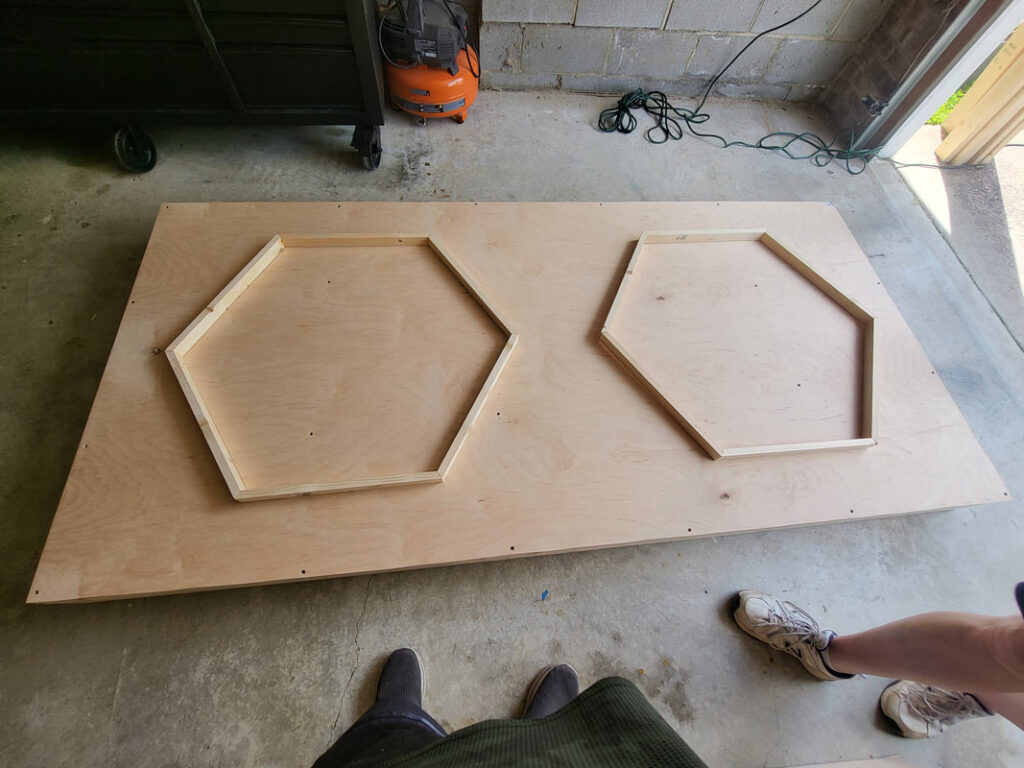
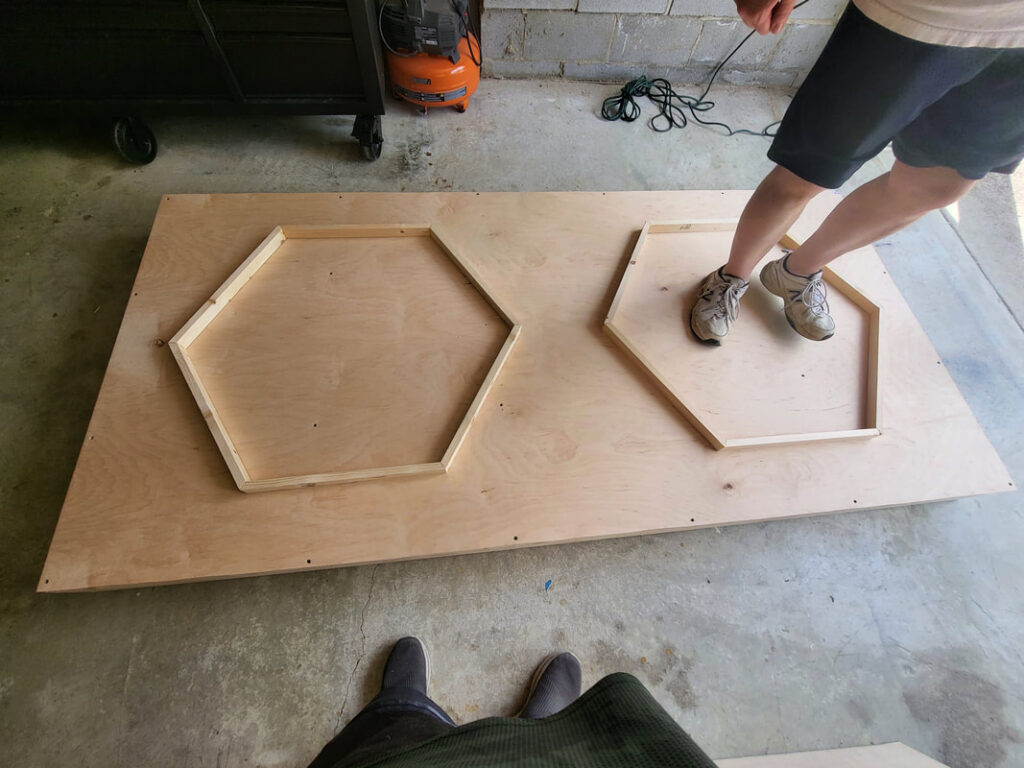
The side and roof will be built of plywood. There will be lights on the top that will glow when the transporter is activated. These will be painted black and coated with polyurethane for shine and protection.
Stardate Entry: 100369.1
We have just done a dry run of putting the transporter together. It is looking pretty good. We are connecting all the pieces together using T-nuts and bolts.
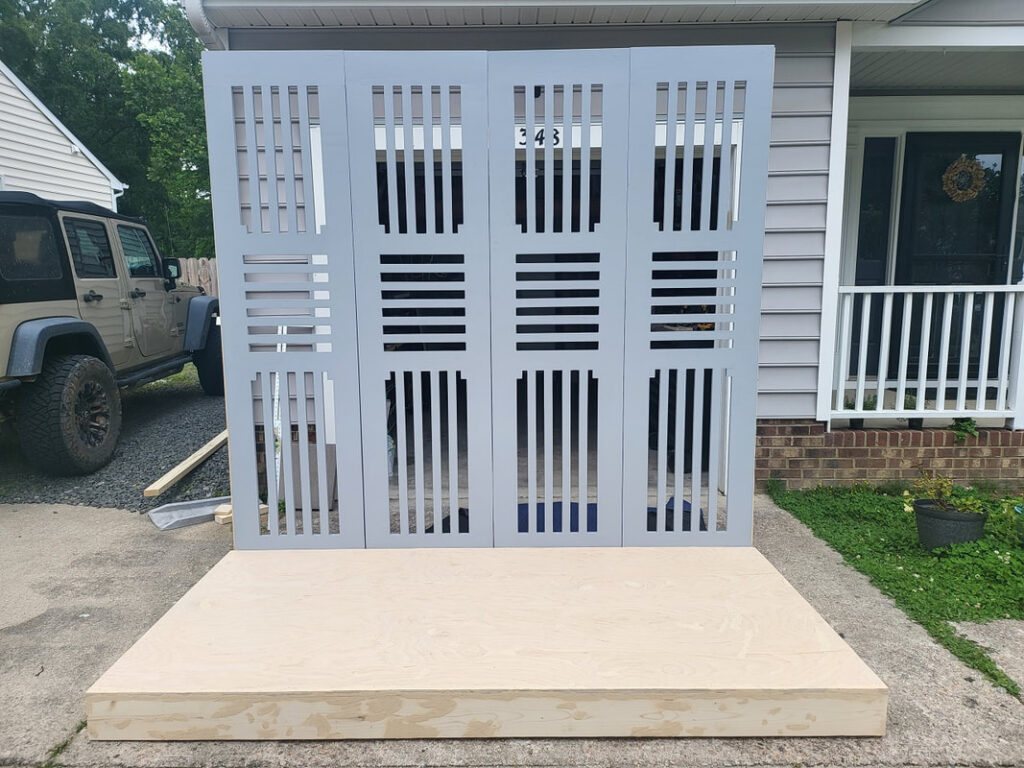
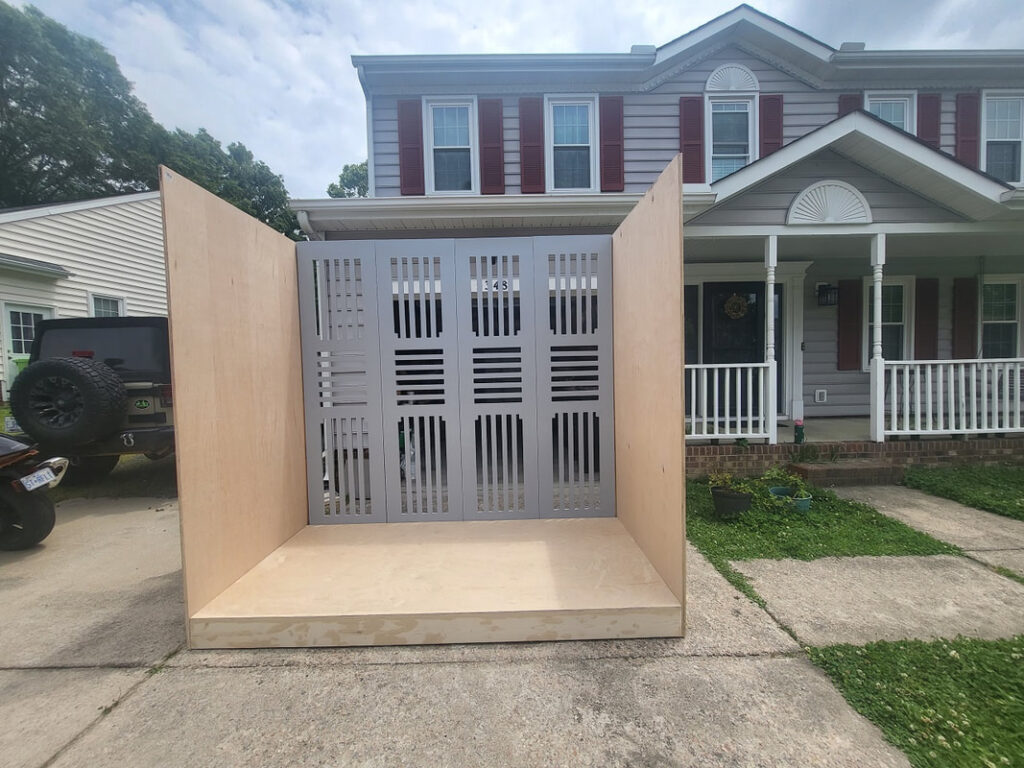
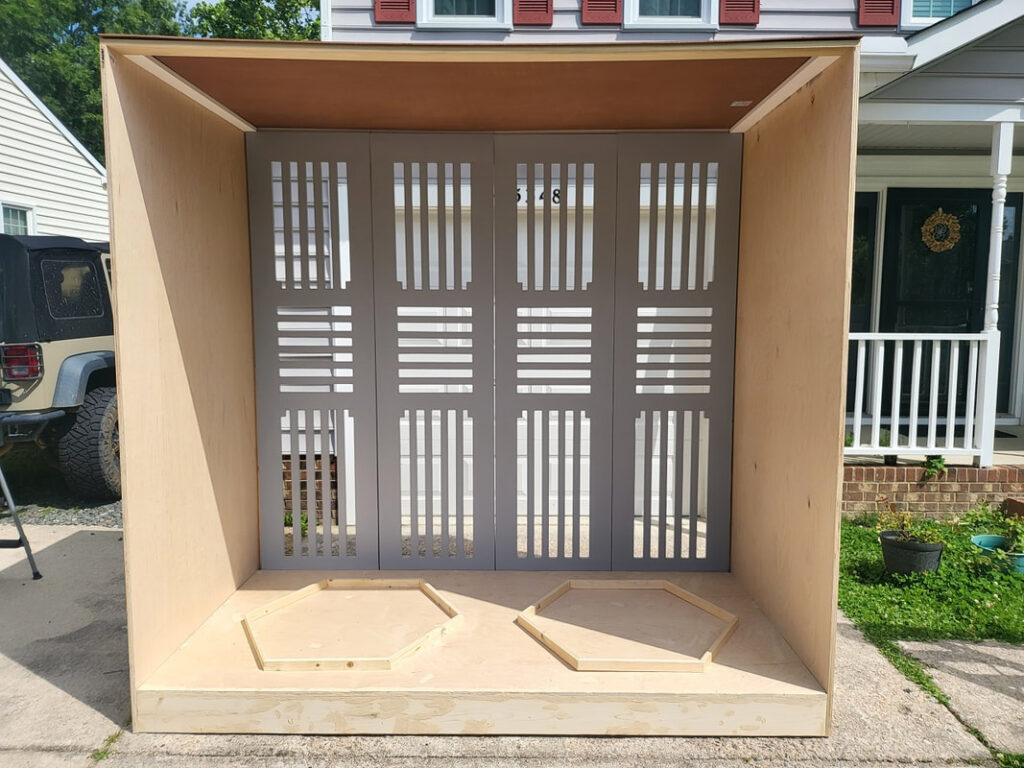
Stardate Entry: 100481.4
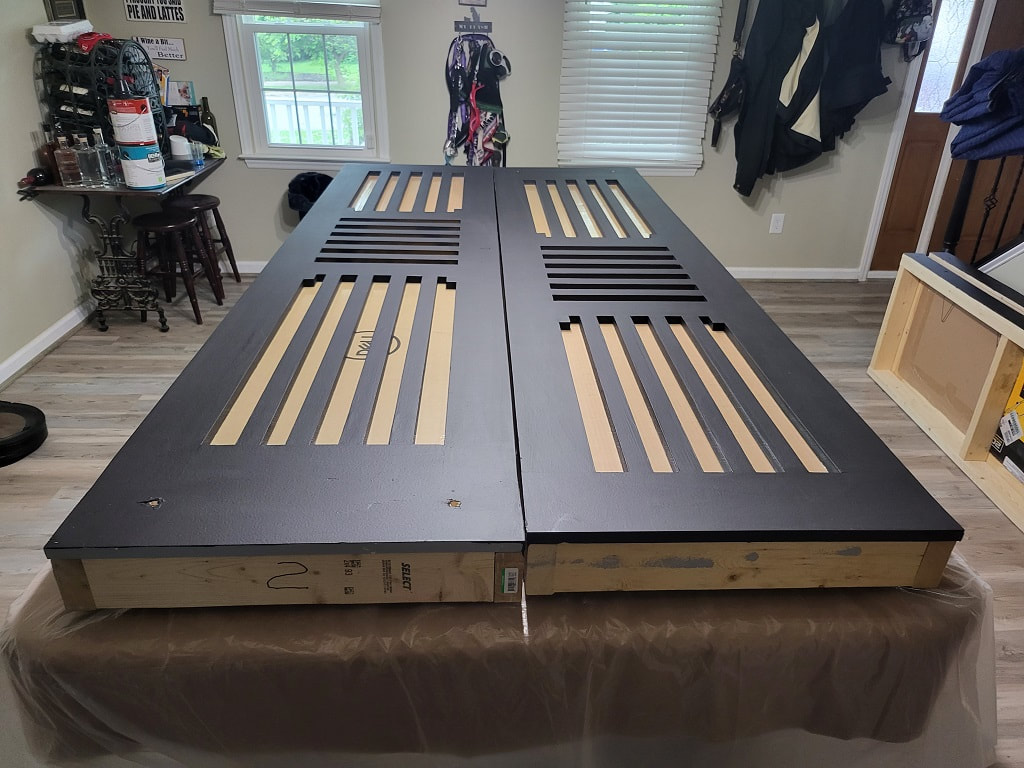
The back has been primed and are ready for the first coats of black paint. Floor, sides and roofs are being sanded and prepped for primer. Once back has been painted we will start pouring a Translucent blue resin. sides will be painted black on both sides and will add policy urethane to the sides for protection. Outside of sides and the back will be covered in a blackout drape so we can have easy access to LED lights and bolting system.
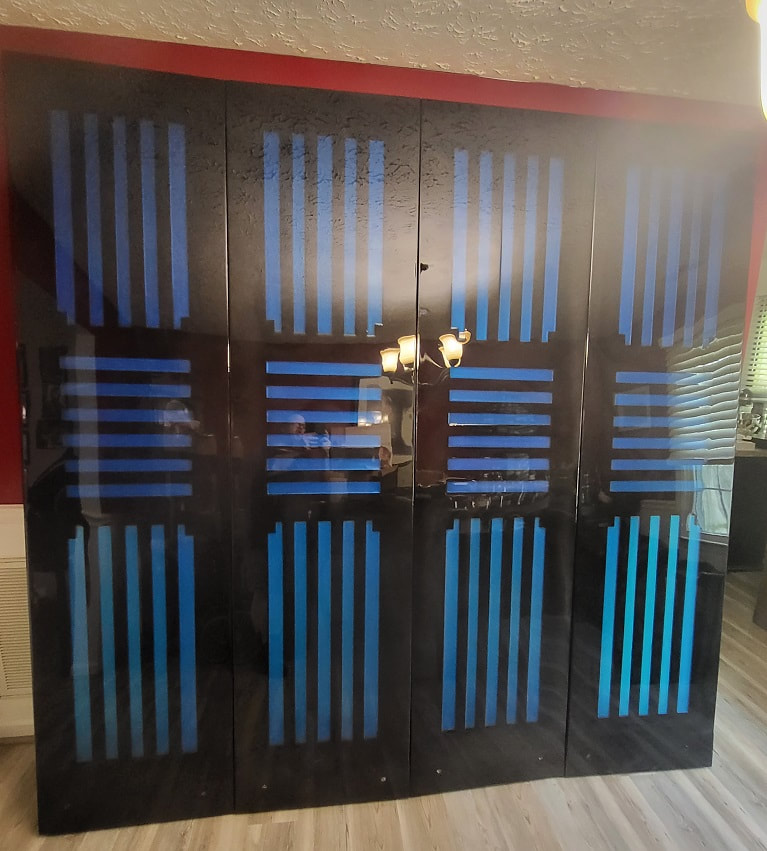
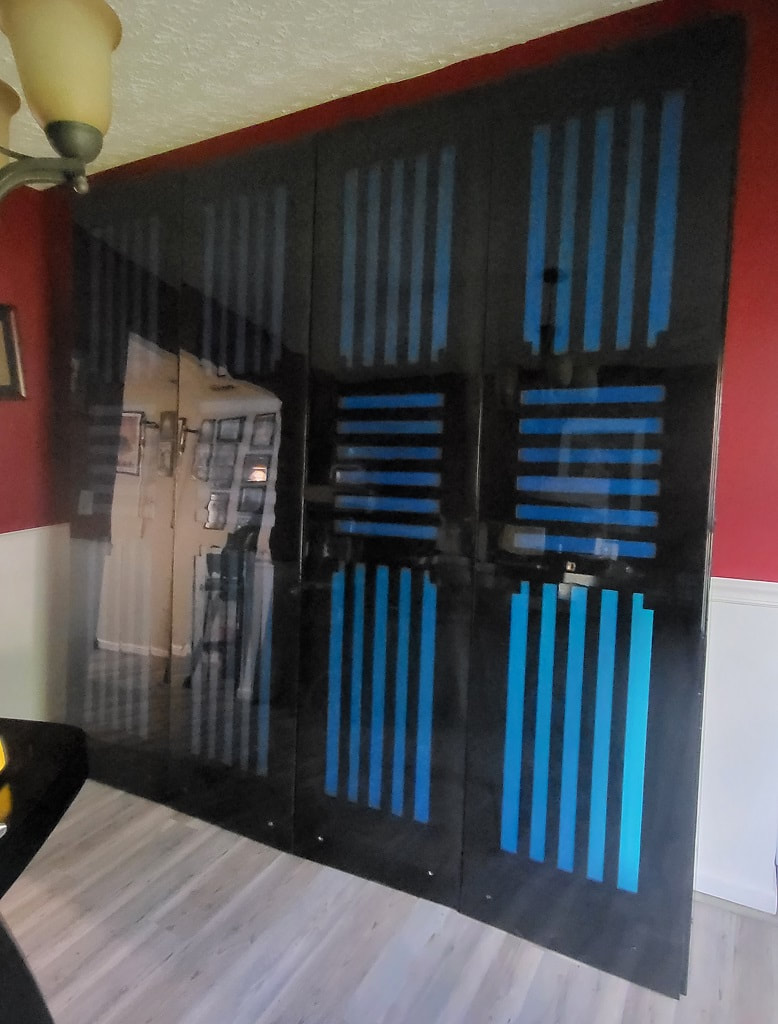
Transporter Rear Panels have now been completed except for the LED lighting. Lighting will be completed within the next week or so. Side Panels and Base will be completed by July 14, 2023 (Stardate 100534.2). We will then do a final build to verify that we have not missed anything.
Final Put-Together
Stardate Entry: 100535.8
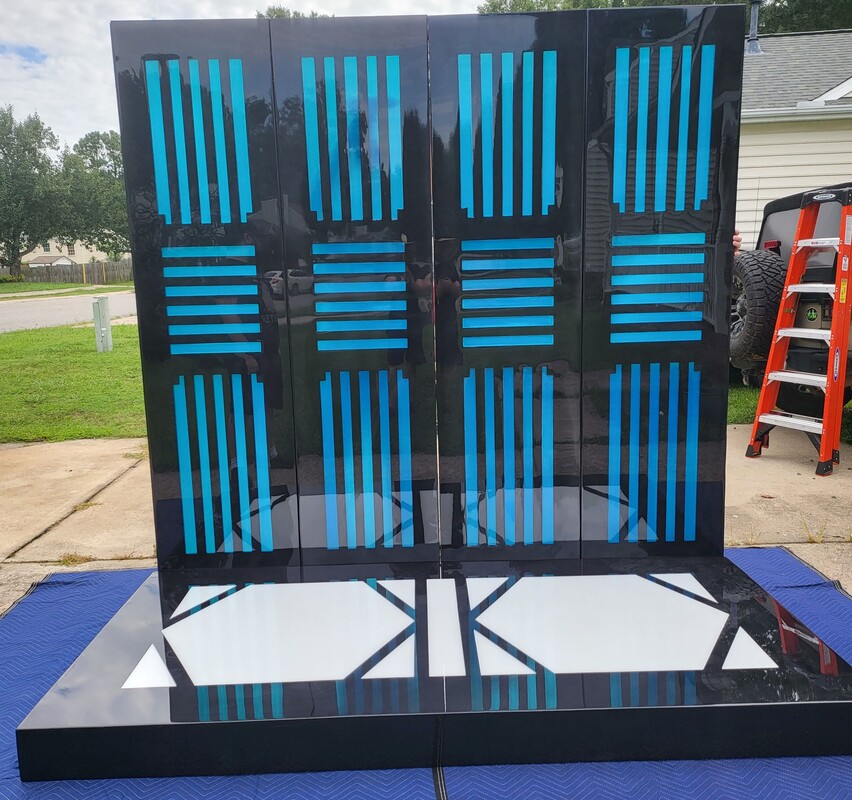
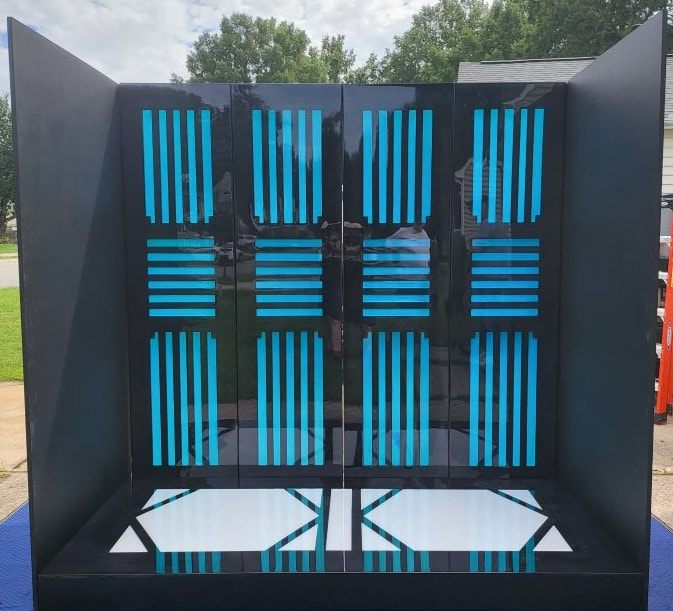
Today members of the 105th MSG and the USS Kitty Hawk put together the 2 man Transporter for it first run. Build out of the transporter and setup take about 1 hour and 15 minutes with a team of 5 or 6 putting it together. Everything lined up and it end product look good. Lights are working and we added some basic sound effects. The transporter will be delivered to Raleigh’s GalaxyCon on Stardate 100565.3 (July 26, 2023).
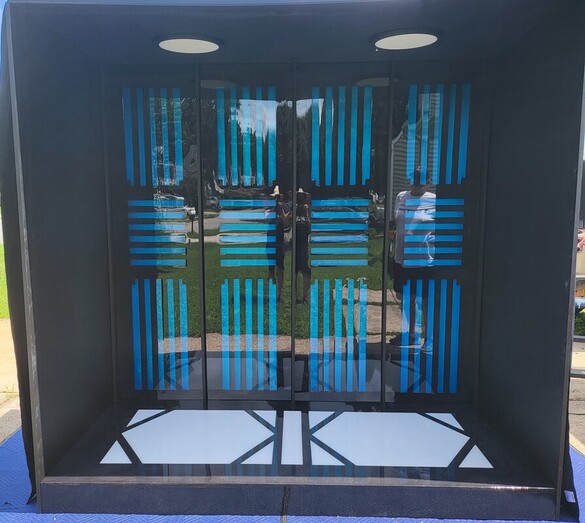
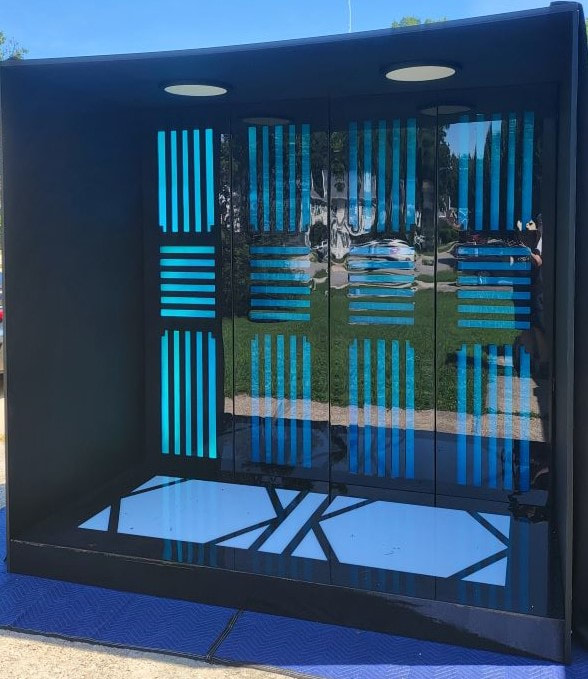
Final Configuration Summary
Base
- 4′ x 8′ x 3/4″ Birtch Plywood setting on top 2″ x 6″ support frame for sturdiness.
- Transporter design – Painted black and white (3 coats).
- Bar Top Epoxy Resin (highgGloss) for protection and shine when being stood on
Back Panels (4x—can be individually separated)
- 2′ x 8 x 3/4″‘ (each panel) total size 8′ x 8’.
- Framing painted black.
- 200′ of multi-colored LED light strips (50′ per panel).
- Shiny backing so LED lights are dispersed evenly.
- Blue = 3/4″ deep pour epoxy (transparent blue with flakes).
- Bar Top Epoxy Resin (High Gloss) for protection and shine.
- Black out curtains for rear external cover
Sides (2x)
- 4′ x 8′ x 3/4 birch plywood.
- Black paint (3 Coats).
- 3 coats of high-gloss polyurethane.
- Blackout curtains for external cover
Top
- 4′ x 8′ particle board connected to 1″ x 4″ frame.
- Black paint (3 coats).
- 3 coats of high gloss polyurethane.
- 2 x 15″ lights for transport effect.
Other accessories and parts
- Wireless speaker for transport sounds
- Wood Glue.
- Wood Putty for smoothing and fixing imperfections
- Deep Pour Epoxy
- Bar Top Epoxy
- Primer (2 to 3 coats on every piece of wood before painting)
- Black Paint
- Grey Primer
- Pure White Paint
- High Gloss Bright Yellow Paint
- EZ-Lock Threaded Inserts
- Bolts (Multiple Sizes)
- Black out Curtains
- Hooks for curtains
- Wood
- 3/4″ pine for back panel design
- 1″ x 4″ for framing
- 2″ x 4″ for support
- 2″ x 6″ for Base Framing
- 3/4″ birch plywood
- Multi grit sandpaper
- Multiple paint brushes
- Deck screws
- Biscuit Joints
- Velcro strips and dots
Tools used throughout the project
- Tools used throughout project:
- Table Saw
- Miter Saw
- Skill Saw
- Jig Saw
- Band Saw
- Biscuit Joiner
- Drill
- Multiple Drill bits, sockets, etc.
- Orbital Disc sander
- Belt sander
- Multi grit sandpaper (60 grit to 400 grit)
- Wood Files
- Tape Measures
- 3′ and 4′ rulers
- Square
- Multiple Clamps